I bought another Raspberry Pi 4B to replace an old 3B+ that did not want to play along any more. It had been acting as a web server, so it will need less software than the job scheduling server. The old server had been running Raspbian, but I am so satisfied with Alpine that I decided to switch, so I followed the first tinkering guide, but only installed:
apk add nano nodejs npm screen sudo
I only need nodejs, since that is what is used for the web server. After that I wanted to harden the system, but it turns out that ufw has moved to the edge community repository. In order to activate it edit /etc/apk/repositories.
nano /etc/apk/repositories
Add a tag named @community for it, and if you like me want the kakoune text editor then also add @testing, making the contents look as follows.
#/media/mmcblk0p1/apks
http://ftp.acc.umu.se/mirror/alpinelinux.org/v3.12/main
#http://ftp.acc.umu.se/mirror/alpinelinux.org/v3.12/community
#http://ftp.acc.umu.se/mirror/alpinelinux.org/edge/main
@community http://ftp.acc.umu.se/mirror/alpinelinux.org/edge/community
@testing http://ftp.acc.umu.se/mirror/alpinelinux.org/edge/testing
Update to get the new package lists, then add and configure ufw.
apk update
apk add ufw@community
rc-update add ufw default
ufw allow 2222
ufw limit 2222/tcp
ufw allow 80
ufw allow 443
After that I followed the guide to disallow root login, enable ufw, and reboot, with one exception. When editing sshd_config I also changed to a non-standard port to get rid of most script kiddie attempts to hack the server. Find the line with:
#Port 22
and uncomment and change this to a port of your liking, for example:
Port 2222
Trust by Certificate
After logging in as the non-root user I created when following the guide, I can still switch to root by using su. I need to add certbot, that keeps the certificate of the server up to date and restore the contents of the www folder.
su
apk add certbot@community
cd /var
mount -t cifs //nas/backup /mnt -o username=myusr,password=mypwd
tar xvzf /mnt/www.tar.gz
Now when that is in place it’s time to update the certificates.
certbot certonly
Since I haven’t started any web servers yet, it’s safe to select option 1 and let certbot spin up it’s own. After entering the necessary information (you probably want to say “No” to releasing your email address to third parties), it’s time to schedule certbot to run daily. It will renew any certificates that are about to expire in the next 30 days.
cd /etc/periodic/daily
nano certbot.sh
The contents of this file should be (note that Alpine uses ash and not bash):
!/bin/ash
/usr/bin/certbot renew --quiet
After that, make that file executable.
chmod +x certbot.sh
With that in place I can start my own web server. It’s an extremely simple static server. The Node.js code uses the express framework and is found in a script named static.js with the following contents.
var express = require('express');
var server = express();
server.use('/', express.static('static'));
server.listen(80);
The HTML files reside in a subdirectory named “static”. For now I run the server in a screen, but will likely add a startup script at some point.
Superuser Do and Terminal Multiplexing
Since the server will listen on the default port 80 I need sudo privileges to start it. The recommended way is to let members of the wheel group use sudo. Depending on what you picked for a username, exemplified by “myusr” here, run the following.
echo '%wheel ALL=(ALL) ALL' > /etc/sudoers.d/wheel
adduser myusr wheel
exit
whoami
exit
The exit will return you to your normal user, from being root since “su” earlier. The second exit will end your session and you will have to log in again, in order for the “wheel” to stick.
screen
sudo node static.js
This will run the server in the foreground, so to detach the screen without cancelling the running command, press “Ctrl+a” followed by “d”. To check which screens are running you can list them.
screen -ls
This will list all screens:
There is a screen on:
3428.pts-0.www (Detached)
1 Socket in /tmp/uscreens/S-myusr.
In order to reattach to one of the listed screens, you do so by it’s session number.
screen -r 3428
Encrypted Backup to the Cloud
I will be hosting some things that I want to have a backup of, and this web server will not be running on a separate subnet, so my NAS is not accessible. I’ll therefore be backing up to OneDrive (in the cloud) using rclone. You will need access to rclone on a computer with a regular web browser to complete these steps. For this, I download rclone on my Windows PC. I will elevate privileges using su first.
su
apk add curl bash unzip
curl https://rclone.org/install.sh | bash
With rclone installed it is time to set it up for access to OneDrive.
rclone config
Select “New Remote”, and I named mine “onedrive”, then choose the number corresponding to Microsoft OneDrive. Leave client_id and client_secret as blanks (default values). Select “No” to advanced config and again “No” to auto config. Here is where you will need to follow the instructions and move to your computer with the web browser to get an access_token. Once this is pasted back into the config dialogue next select the option for “OneDrive Personal”. Select the drive it finds and confirm it is the right one and confirm again to finish the setup. Quit the config using “q” and test that the remote is working properly.
rclone ls onedrive:
Provided that worked, it is now time to enable encryption of the data we will be storing on OneDrive. Start the config again.
rclone config
Select “New Remote” and give this a different name, in my case “encrypted”, then choose the number corresponding to Encrypt/Decrypt. You will then need to decide on a path to where the encrypted data will reside. I chose “onedrive:encrypted” so that it will end up in a folder named “encrypted” on my OneDrive. I then selected to “Encrypt filenames” and “Encrypt directory names”. Then I provide my own password, since this Raspberry Pi will surely not last forever. I won’t be remembering salt, so I opted to leave it blank. Choose “No” to advanced config and “Yes” to finish the setup.
With that in place I will create a script that performs the backup, placed in the folder that I want to backup. I am going to run this manually and only when I’ve been editing any of the files I need to backup.
nano backup.sh
This file will have the following contents.
!/bin/sh
/usr/bin/rclone --links --filter "- node_modules/**" sync . encrypted:
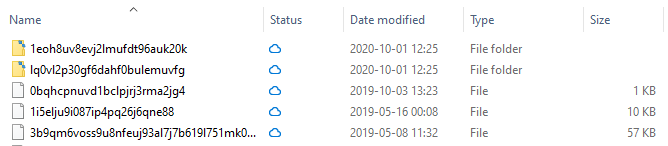
It will filter out the nodejs modules, since they can and will be redownloaded when you run node anyway. After testing this script I can see something like the following on my OneDrive in the encrypted folder.
Prerequisites for Node.js Development
Since I moved from a 32-bit to a 64-bit operating system, some npm modules may be built for the wrong architecture. I will clean out and refresh all module dependencies using the following. There are lots of modules in my system, since it actually does more than just run a static web server, like being the foundation for Rita (our robotic intelligent telephone agent). Some modules may need to be built, which is why we need to add the necessary software to do so.
rm -Rf node_modules
apk add --virtual build-dependencies build-base gcc wget git
npm install
npm audit fix
For better editing of actual code (than nano) I will be using kakoune.
apk add kakoune@testing
Now, if you will be running this from Windows I highly recommend using a terminal with true color capabilities, such as Alacritty. Colors will otherwise not look as nice as in the screenshot below (using the zenburn colorscheme).
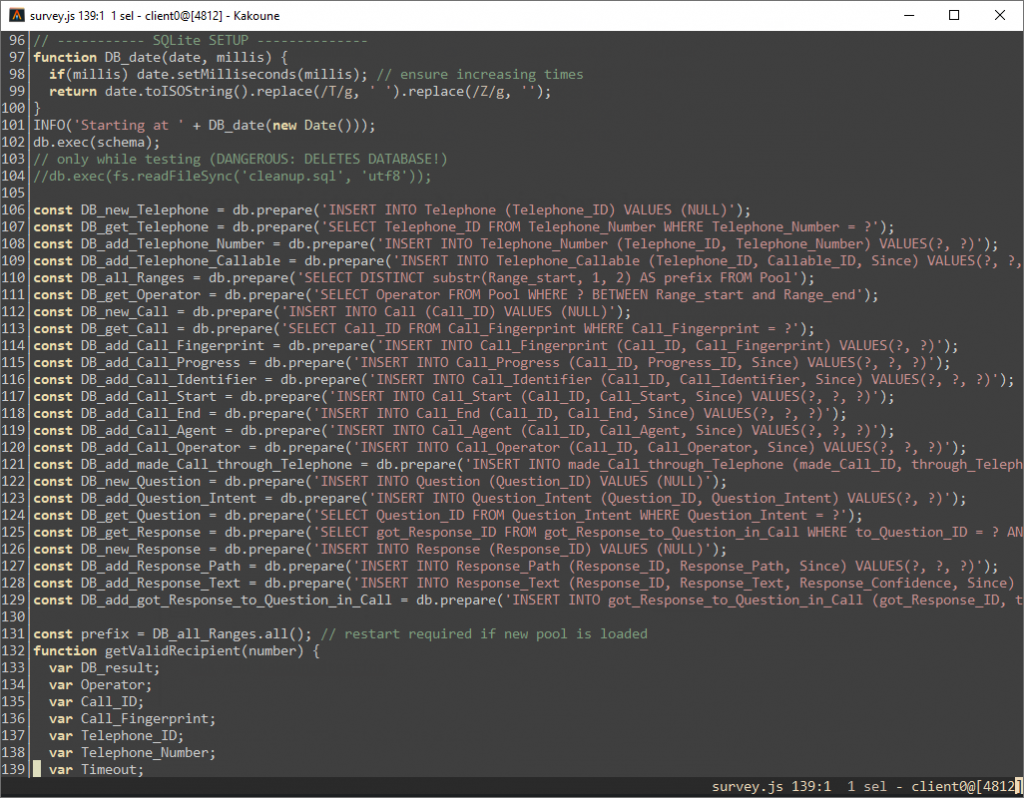
I believe that is all, and this server has everything it needs now. Those paying particular attention to the code in the screenshot will notice that the underlying SQLite database is Anchor modeled.
I am writing this guides mostly for my own benefit as something to lean on the next time one of my servers call it quits, but they could very well prove useful for someone else in the same situation.